Kami pertama kali mempelajari cara menginstal Ruby on Rails pada 21 April 2025.
Halo, ingin belajar Alukodex sekarang Ruby di Rel. Baca dari hal Kami akan mencoba menginstal Ruby di Rel di komputer kita.
Untuk instalasi di MacOS
Berikut ini adalah urutan instalasi yang diperlukan pada MacOS. Buka Terminal, lalu ikuti contoh ini:
# Install Xcode Command Line Tools
$ xcode-select --install
# Install Homebrew and dependencies
$ /bin/bash -c "$(curl -fsSL
$ echo 'export PATH="/opt/homebrew/bin:$PATH"' >> ~/.zshrc
$ source ~/.zshrc
$ brew install openssl@3 libyaml gmp rust# Install Mise version manager
$ curl | sh
$ echo 'eval "$(~/.local/bin/mise activate)"' >> ~/.zshrc
$ source ~/.zshrc# Install Ruby globally with Mise
$ mise use -g ruby@3Untuk instalasi di Linux Ubuntu
Berikut ini adalah urutan instalasi yang diperlukan di Ubuntu. Buka Terminal, lalu ikuti contoh ini:
# Install dependencies with apt
$ sudo apt update
$ sudo apt install build-essential rustc libssl-dev libyaml-dev zlib1g-dev libgmp-dev
# Install Mise version manager
$ curl | sh
$ echo 'eval "$(~/.local/bin/mise activate bash)"' >> ~/.bashrc
$ source ~/.bashrc# Install Ruby globally with Mise
$ mise use -g ruby@3Untuk instalasi di Windows
Berikut ini adalah urutan instalasi yang diperlukan untuk Windows. Buka PowerShell atau Command Prompt, lalu ikuti contoh ini:
# Perlu install wsl terlebih dahulu
$ wsl --install --distribution Ubuntu-24.04
# Install dependencies with apt
$ sudo apt update
$ sudo apt install build-essential rustc libssl-dev libyaml-dev zlib1g-dev libgmp-dev# Install Mise version manager
$ curl | sh
$ echo 'eval "$(~/.local/bin/mise activate bash)"' >> ~/.bashrc
$ source ~/.bashrc# Install Ruby globally with Mise
$ mise use -g ruby@3Proses verifikasi instalasi Ruby
Ketik sesuai contoh berikut:
$ ruby --version
ruby 3.3.6
Proses pemasangan dan verifikasi rel
Ketik sesuai contoh berikut:
$ gem install railsRestart terminal Anda, lalu ketik yang berikut ini:
$ rails --version
Rails 8.0.0
Buat aplikasi pertama
Ketik sesuai contoh berikut:
$ rails new storeKemudian kami memeriksa:
$ cd store
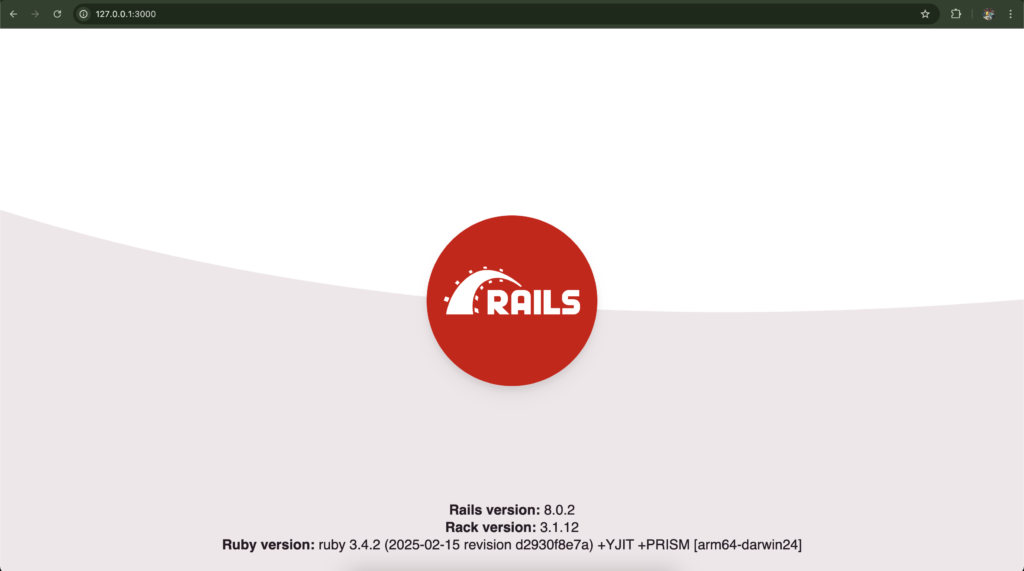
$ bin/rails serverKemudian buka browser Anda, lalu navigasikan ke

Ya, hei, Ruby on Rails!
PakarPBN
A Private Blog Network (PBN) is a collection of websites that are controlled by a single individual or organization and used primarily to build backlinks to a “money site” in order to influence its ranking in search engines such as Google. The core idea behind a PBN is based on the importance of backlinks in Google’s ranking algorithm. Since Google views backlinks as signals of authority and trust, some website owners attempt to artificially create these signals through a controlled network of sites.
In a typical PBN setup, the owner acquires expired or aged domains that already have existing authority, backlinks, and history. These domains are rebuilt with new content and hosted separately, often using different IP addresses, hosting providers, themes, and ownership details to make them appear unrelated. Within the content published on these sites, links are strategically placed that point to the main website the owner wants to rank higher. By doing this, the owner attempts to pass link equity (also known as “link juice”) from the PBN sites to the target website.
The purpose of a PBN is to give the impression that the target website is naturally earning links from multiple independent sources. If done effectively, this can temporarily improve keyword rankings, increase organic visibility, and drive more traffic from search results.